
2.5 Job
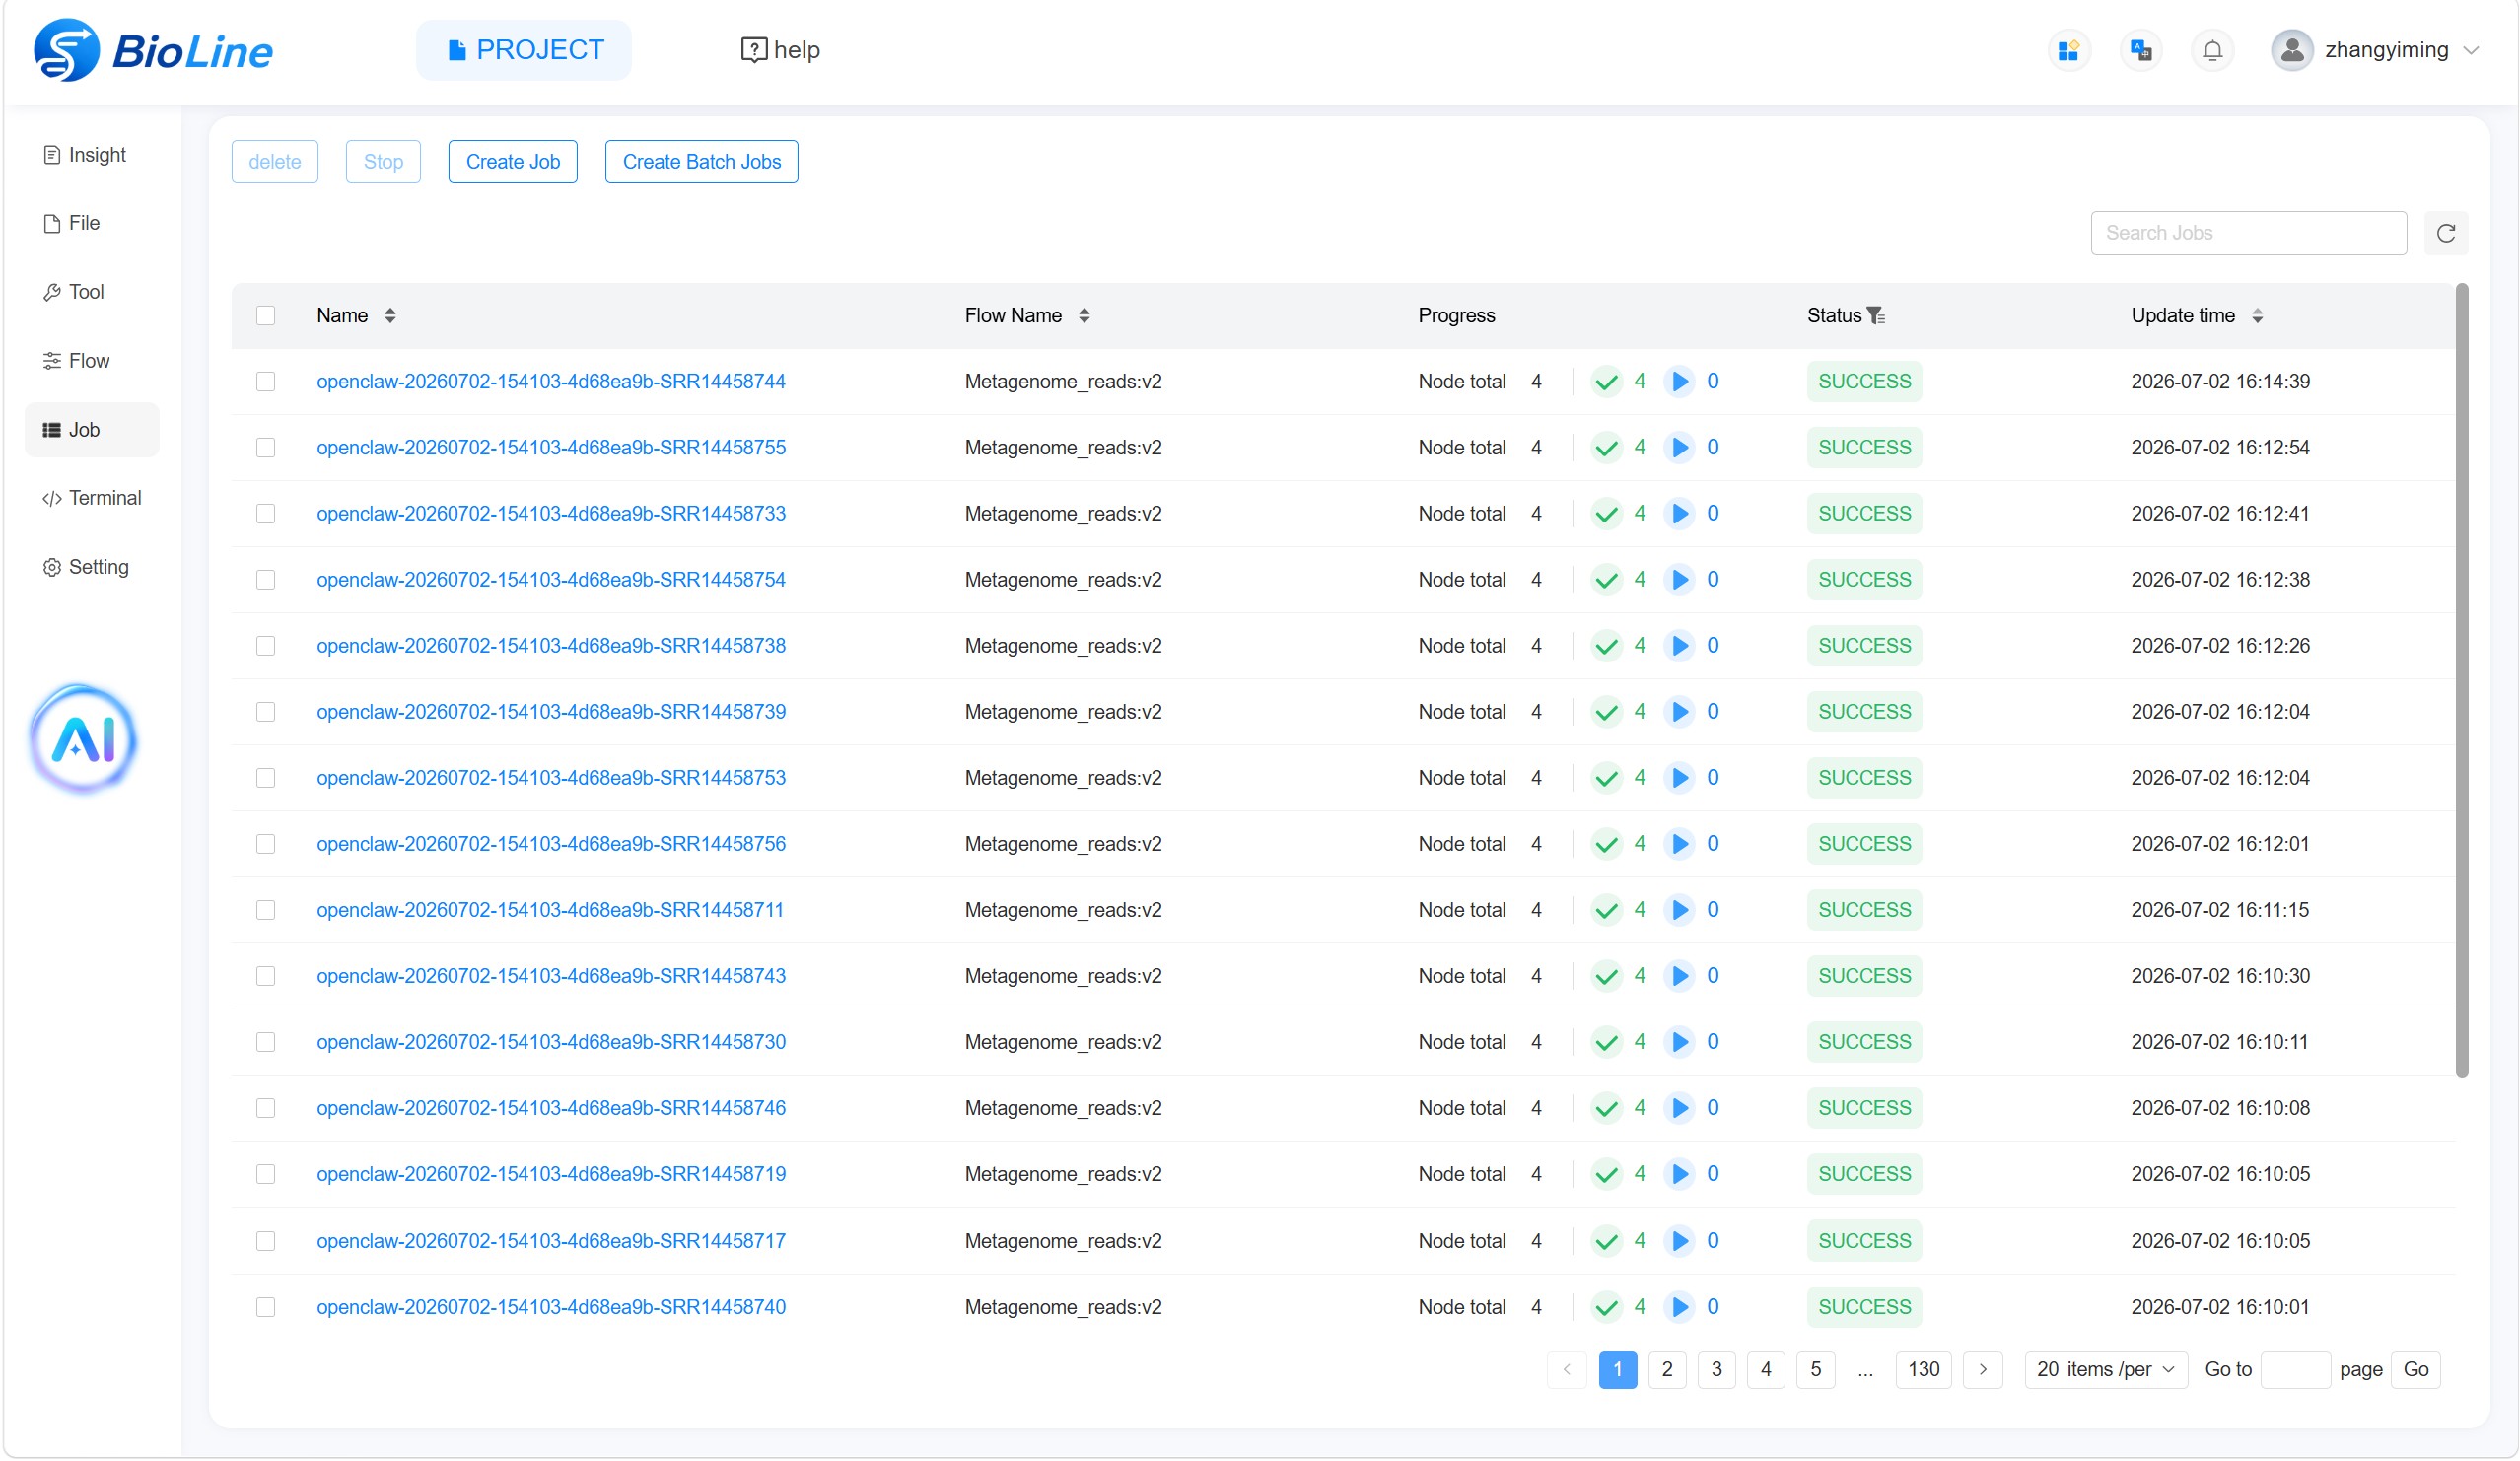
After a flow has been built, create a job from that flow and provide the required files and parameters. The Job page also supports delete, Stop, Create Job, Create Batch Jobs, search, and pagination.
Create a Job
Step 1 — Flow Selection. Select Create Job and then choose flow. The page displays “Flow is the basis of tasks” and prompts “Please choose your Flow” until a flow is selected. Review the generated job name. By default, the name combines the flow name and the current time. Change it if required, but do not duplicate an existing job name.

Step 2 — Parameter Modification. Use pre step and next step to move between stages. Configure the Output Folder, Debug Mode, Fail Wait Running Mode, Input File, Output File, and tool parameters. Final outputs are written under the project’s /output/ folder for centralised management.
| Field | Description |
|---|---|
| Output Folder | Root directory for all output files in the job. Results are saved under /output/; the user specifies the job-specific subfolder. |
| Debug Mode | When Open, intermediate result files are retained whether the job succeeds or fails. When Close, intermediate result files are deleted after success but retained after failure. |
| Fail Wait Running Mode | When Open, failure of one node does not terminate tasks that are already running. When Close, failure of any node terminates all running tasks and ends the job. |
| Input File | All input files required by the flow. Use the selector in the file column to assign project files to the relevant nodes and ports. |
| Output File | All output files produced by the flow, including output ports, types, patterns, producing nodes, and any supported rename settings. |
| Tool List | Parameters for every tool node in the flow. Keep the defaults or modify the values for the current job. |

Step 3 — Parameter Confirmation. Review the Job Parameter Confirmation table, which summarises the input files, output files, and tool parameters. Confirm that the settings are correct, then select submit. The configuration remains available from the job details page.

Create Batch Jobs
Use batch jobs when the same flow must process multiple datasets or samples. This avoids creating each job and entering the same parameters repeatedly.

Select Create Batch Jobs. Step 1 is Flow Selection; select choose flow. Step 2 is Output path; under Output Setting, enter the shared output subfolder beneath the common /output/ root. Use pre step or next step to move between stages. Step 3 is Parameter Modification. On the Export job profile page, set job count, select Preview parameter to review or set shared defaults, select Download csv profile to download the template, and use Upload csv profile under Upload profile to import the completed CSV file.


The CSV contains input files, output files, and tool parameters for each sub-job. Edit it with a spreadsheet application and save it in CSV format. BioLine validates the file structure and parameter values during upload. If validation fails, correct the issues reported on the page and upload the file again.
Delete a Job
Select the checkbox beside the job and choose delete.
Stop a Job
When a running job has incorrect input or parameter settings, select it and choose Stop. The currently running tool and its downstream nodes will be terminated, preventing unnecessary computation and cost.
Pagination
Use the controls in the lower-right corner or enter a page number in Go to and select Go.